「DAY07」Camunda 7輕鬆入門:安裝與環境設置
Posted on September 21, 2023 • 1 min read • 169 words我們今天來安裝Camunda,以及配置好我們的電腦,方便我們之後的學習。
昨天我們學習已經學習完BPMN概念,我們今天來安裝Camunda,以及配置好我們的電腦,方便我們之後的學習。
我們這次依照官方的指示安裝Camunda Platform 7
所使用的官方Github網址
Get started with Camunda | docs.camunda.org
本文安裝的方法採用Git方法,並確保您的電腦有安裝Git套件
前期準備
本文安裝的方法採用Git方法,並確保您的電腦有安裝Git套件
首先使用git克隆範例程式碼
git clone https://github.com/camunda/camunda-get-started-quickstart.git在安裝步驟開始前,我們先把程式碼遷出到Start Tag
git checkout -f Start以下的步驟命令,將以”X”替換成半形數字1-6
git checkout -f Step-X

EX:
git checkout -f Step-1
第一步:下載與安裝
首先,您需要安裝 Camunda Platform 和 Camunda Modeler。
檢查JAVA
請確保您已安裝以下軟件:
- Java運行時環境1.8+
您可以使用終端、shell 或命令行來驗證這一點:
java -version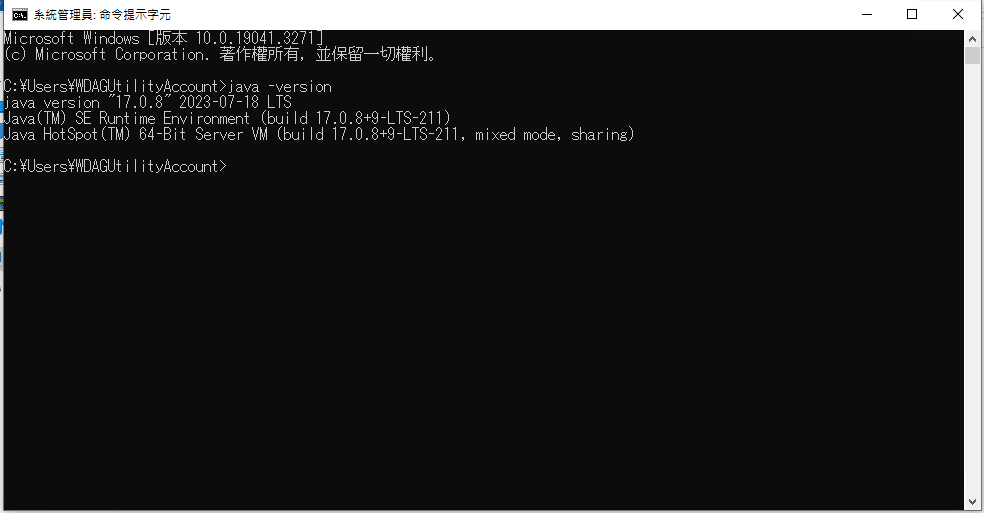
如果有出現以下狀況,請先安裝JAVA
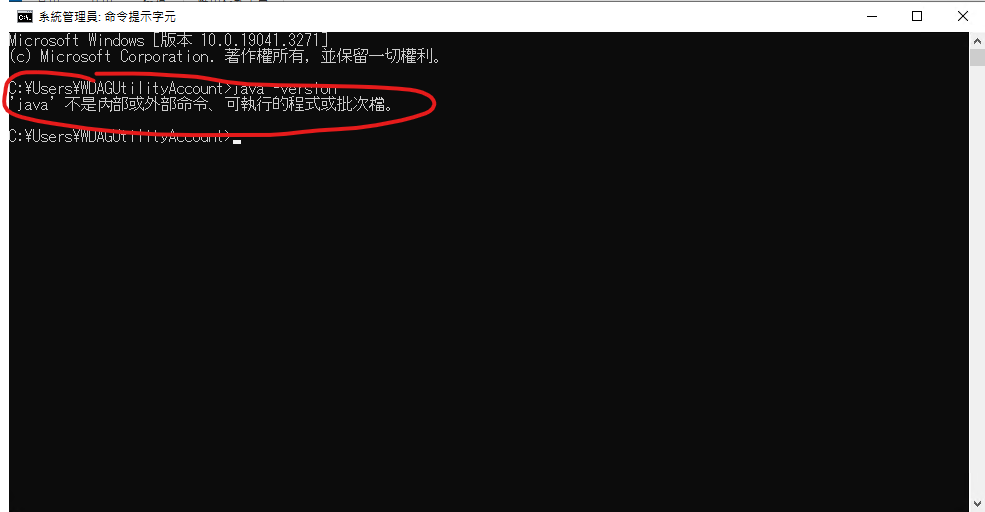
如果您需要安裝 Java 運行時環境,可以在此處從 Oracle 找到下載。
筆者選擇是JAVA 17版,筆者習慣直接下載EXE檔
下載完後,直接按照軟體的安裝嚮導就可以正確安裝。
如果工作需求,需要使用到JAVA 11,筆者推薦安裝 Eclipse Temurin JDK
因為Oracle在安裝JAVA 11需要登入個人帳號
安裝地址
請依據自己所使用的電腦平台,選擇最正確的版本
安裝好後,請再次檢查JAVA
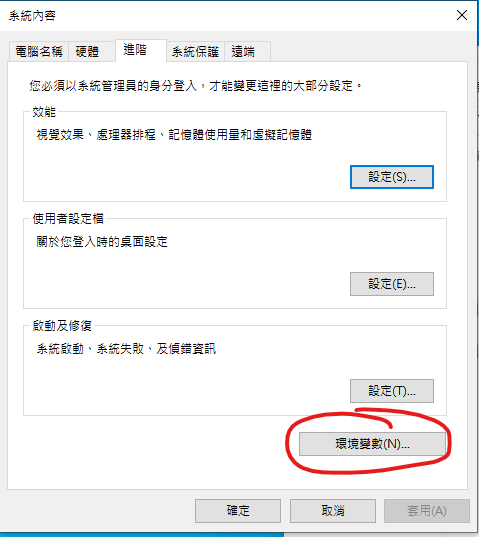
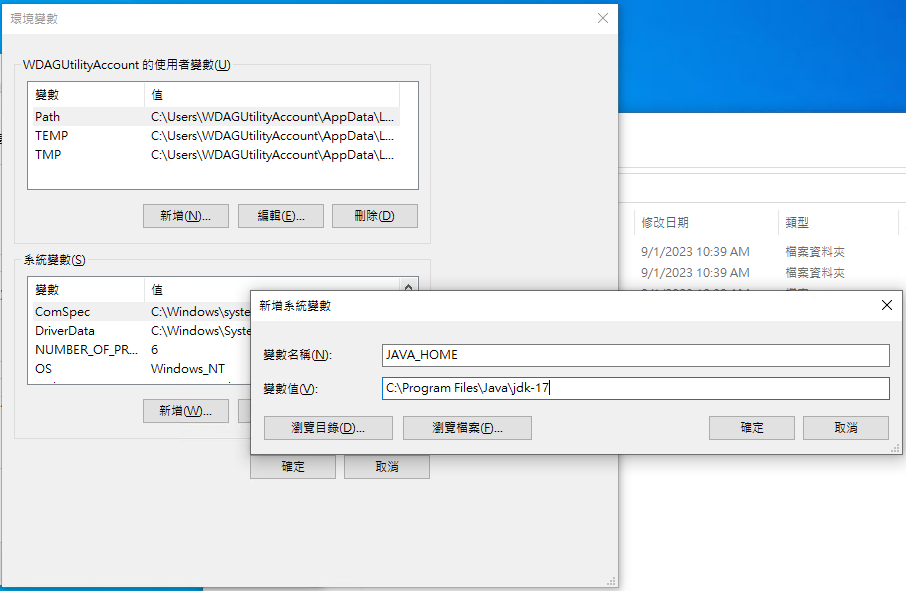
坑:JAVA_HOME
Windows10環境變數位置:
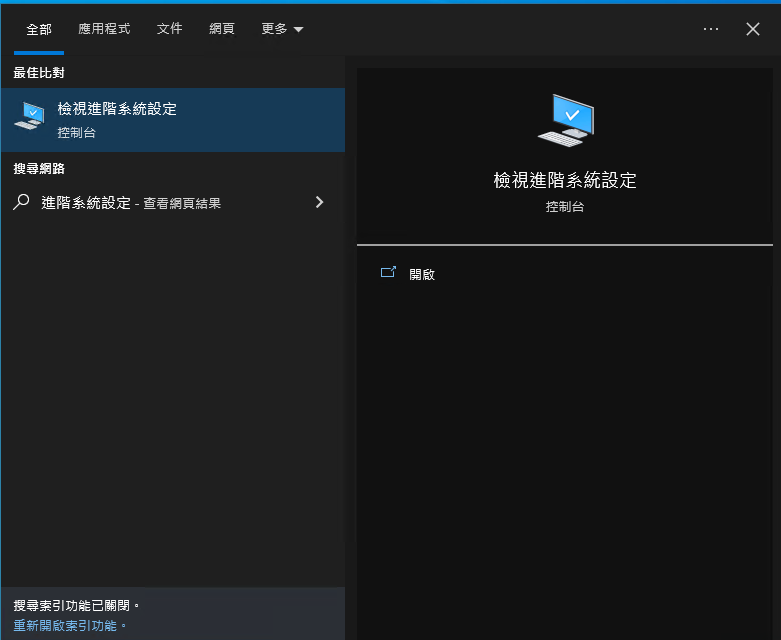
步驟一 快捷鍵(windows+S)開啟windows搜尋,輸入「進階系統設定」
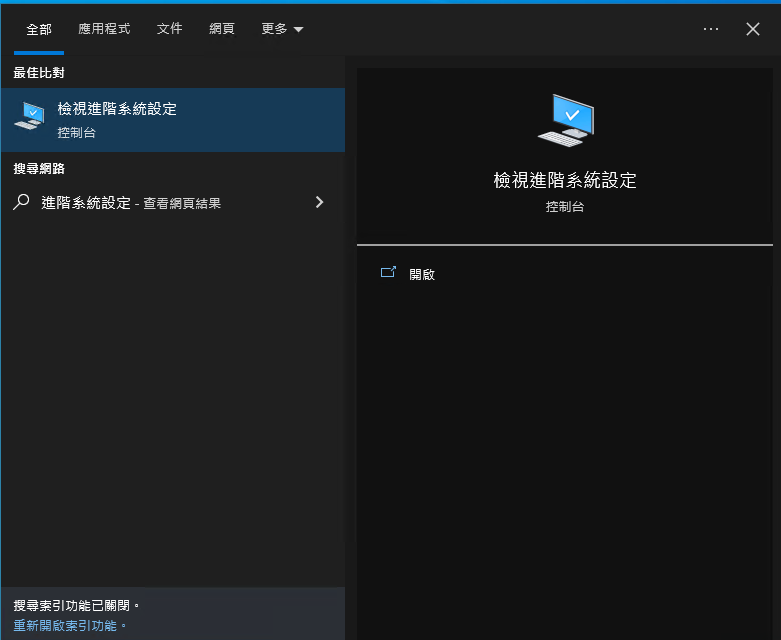
步驟二 環境變數 –> 系統變數 – > path
路徑要找您當時候安裝在哪裡
支援的 Java 版本
確保使用Camunda 的支持環境列表中的 Java 版本。
安裝 Camunda Platform(Camunda BPM)
首先需要先下載Camunda Platform
在本教程中,我們將使用 Camunda Platform Run
Camunda Platform Run下載地址
請選擇RUN ZIP
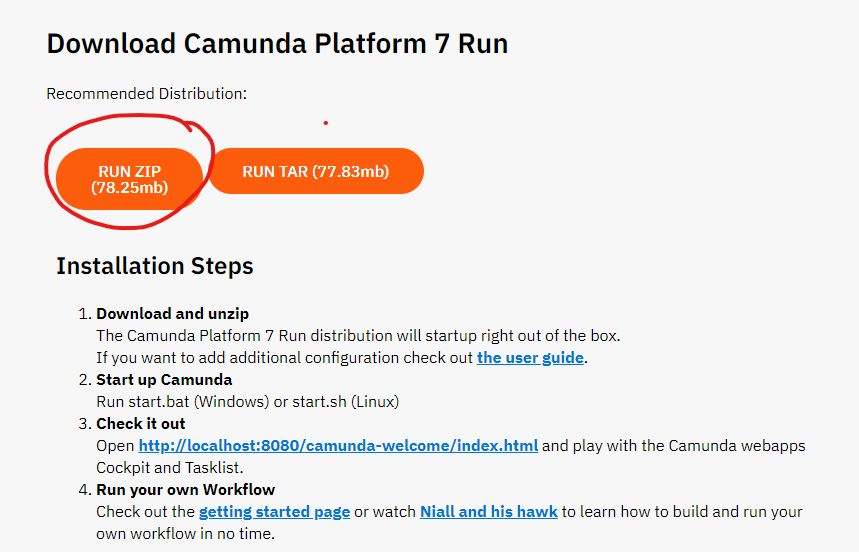
(圖片來源:https://camunda.com/download/platform-7/)
下載發行版後,將其解壓到您選擇的目錄中。
到下載資料夾,點選剛才下載完畢的檔案,點擊右鍵【解壓縮全部】
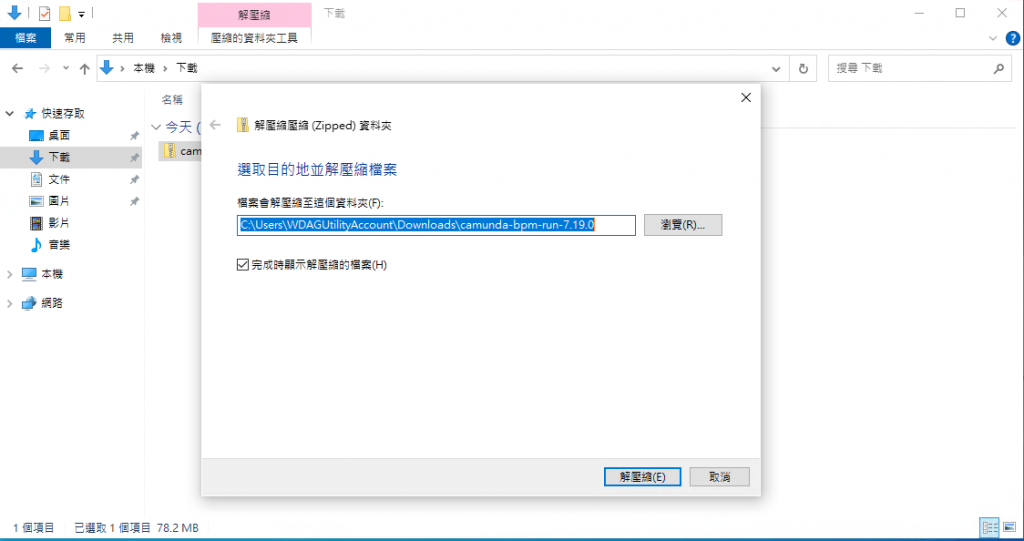
(圖片來源:作者主機操作)
成功解壓 Camunda 平台發行版後,請先點選Win檔案管理的【檢視】,並將【副檔名】點選
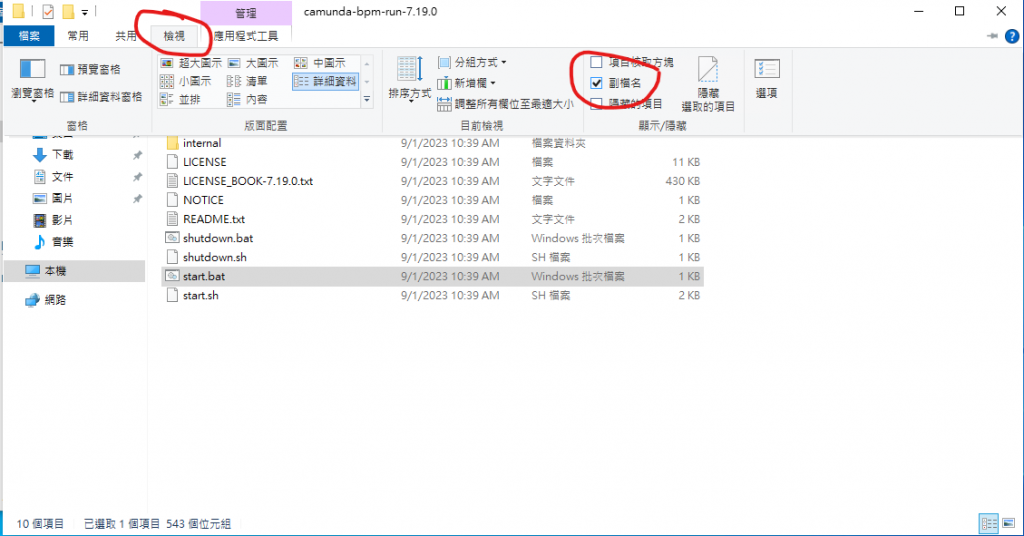
(圖片來源:作者主機操作)
執行名為start.bat(對於 Windows 用戶)或start.sh(對於 Unix 用戶)的腳本。
筆者電腦為Windows ,所以選擇start.bat
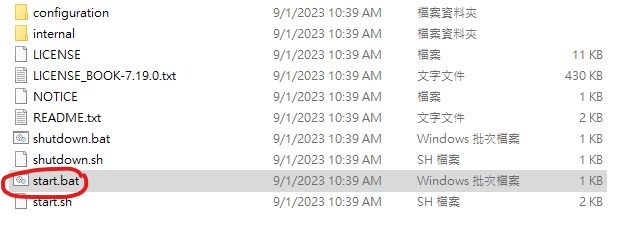
(圖片來源:作者主機操作)
雙擊start.bat,Windows會跳出保護機制,請點選【其他…】,選擇右下角【仍要執行】
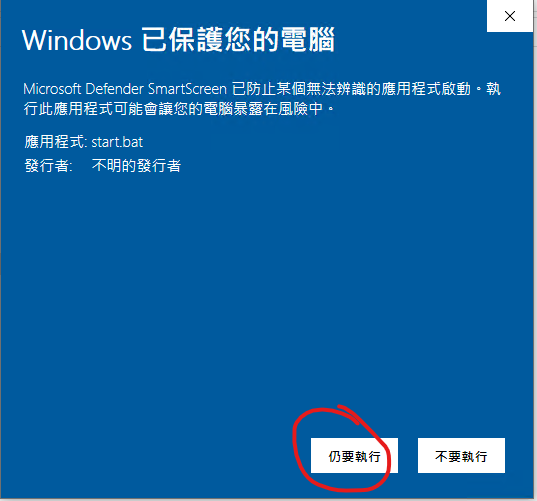
(圖片來源:作者主機操作)
CMD有出現這個標示,表示您執行成功了
如果沒有,可能是您的JAVA_PATH沒有設定,請參閱前段文章【坑:JAVA_HOME 】
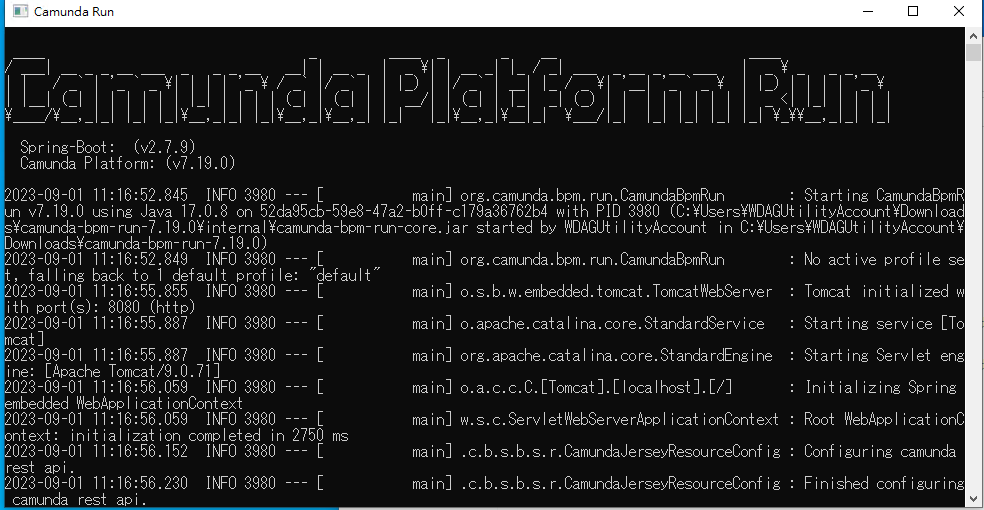
(圖片來源:作者主機操作)
該腳本將啟動應用程序服務器。打開 Web 瀏覽器並導航至http://localhost:8080/camunda-welcome/index.html以訪問歡迎頁面。
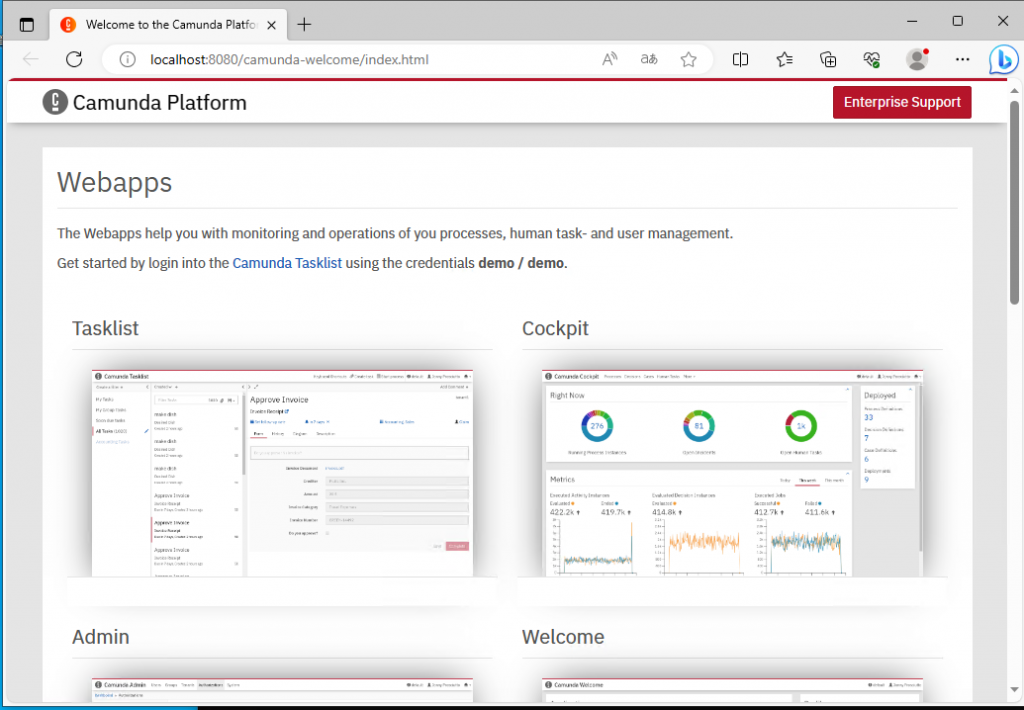
(圖片來源:作者主機操作)
如果要登入的話,camunda預設密碼 帳號demo密碼demo
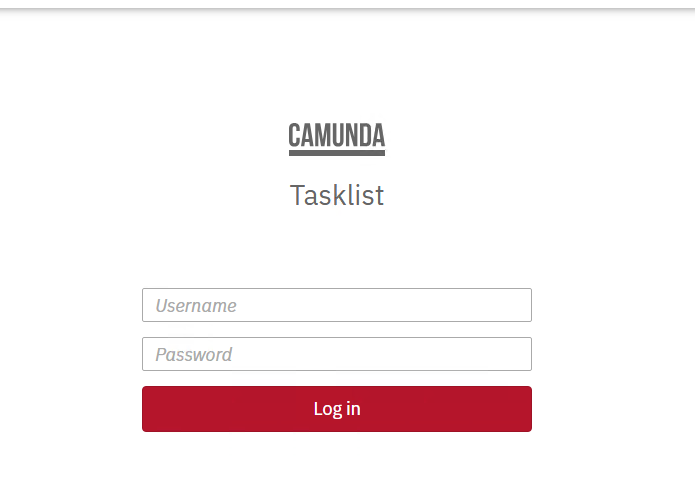
(圖片來源:作者主機操作)
安裝Camunda Modeler(圖形化編輯BPMN、DMN、FORM)
下載網址
Download Modeler for Camunda Platform
筆者選擇【Windows 64bit】,實際情況還是要依您的電腦設備有所調整
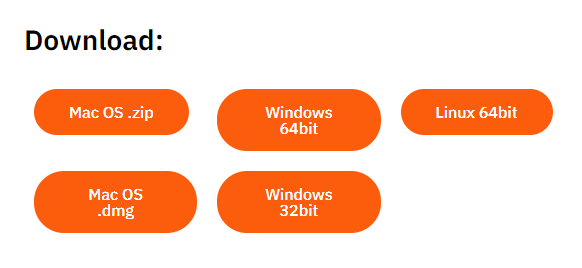
(圖片來源:https://camunda.com/download/modeler/?__hstc=12929896.b57d8e75f044399a3361b85882744796.1693470163735.1693495883870.1693534219871.5&__hssc=12929896.10.1693534219871&__hsfp=2632249013)
解壓縮後,點選【Camunda Modeler.exe】, camunda-modeler.exe (Windows), camunda-modeler.app (Mac), or camunda-modeler.sh (Linux),即可啟動Camunda Modeler
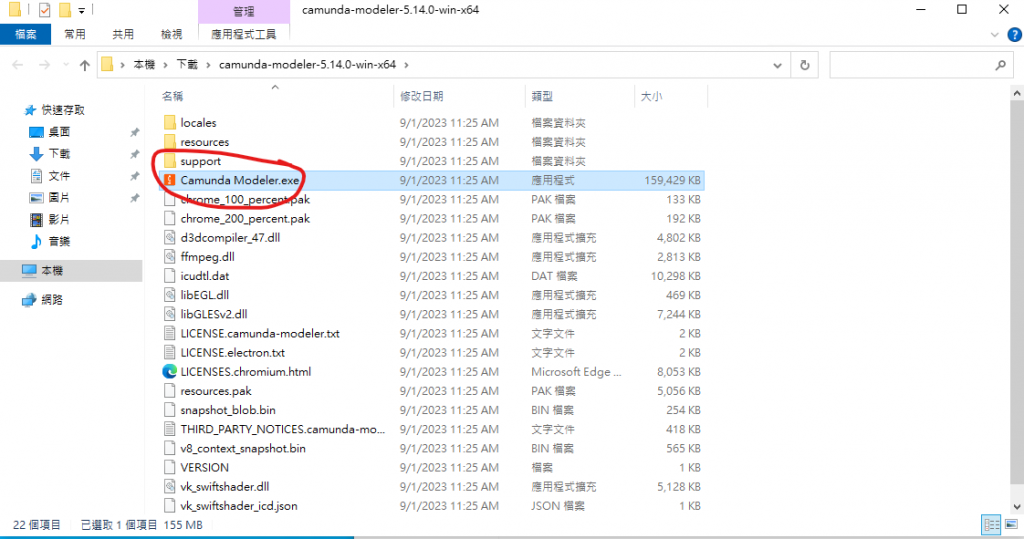
(圖片來源:作者主機操作)
看到這個畫面,表示您安裝成功
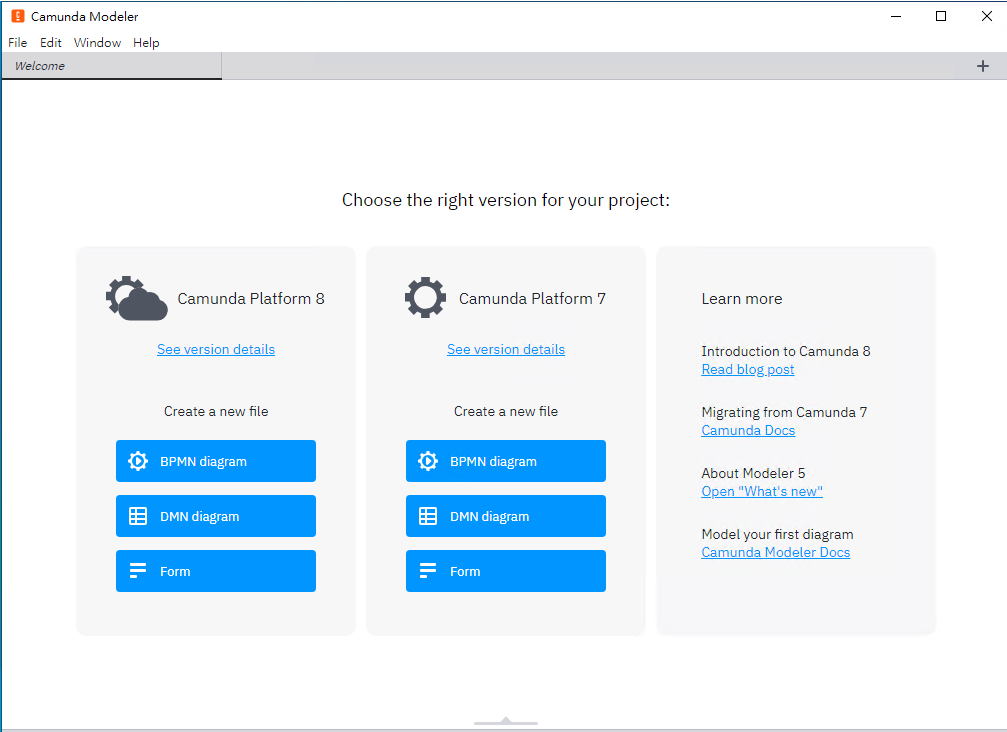
(圖片來源:作者主機操作)
我們現在已經安裝好Camunda,明天我們一起來認識Camunda中的操作細項。
教學影片專區
💡 如果有任何問題,歡迎在下方留言!! 筆者頭一回寫技術文,如果內容有誤,或者內容的呈現上有所缺陷,如果您願意,歡迎在下方留言給我呦~~這是我的部落格,歡迎點擊閱覽喔~~會不定期更新文章
